Card Making with Rinea® Paper-Foil

This month the members of Designer Crafts Connection are happy to bring you projects created with
Rinea® paper-foil. Make sure to start over at the DCC blog and check out what all the designers created.
This product is called Rinea® paper-foil, it's a specialty craft paper imported from Germany. Some of
these sheets are double sided, so you get two beautiful colors to work with, also it's available in two textures,
glossy plain and embossed, each texture is offered in 10 different colors, check it out here Rinea by Globalcrafting

Here are some pointers for working with this product:
- You can cut it with a Cricut, Silhouette, or any other electronic machines, just make sure and use a low tack mat to prevent tearing of this product.
- You can emboss, die cut, punch, sand, spray paint, write & stamp on this product with alcohol based inks
- All glues work great
- When using heat make sure to avoid prolonged use to prevent the product from bubbling
You can find more information and see samples over at www.rinea.com
For this blog-hop I created two cards, this is my first time embossing this paper foil and I just loved how it captured
all the detail and even while I handled the embossed paper it kept all the texture, I didn't lose any of the patterns and I was able to cut up what I wanted to use with scissors and also by hand, this was so much fun, I wanted to just keep embossing.
all the detail and even while I handled the embossed paper it kept all the texture, I didn't lose any of the patterns and I was able to cut up what I wanted to use with scissors and also by hand, this was so much fun, I wanted to just keep embossing.
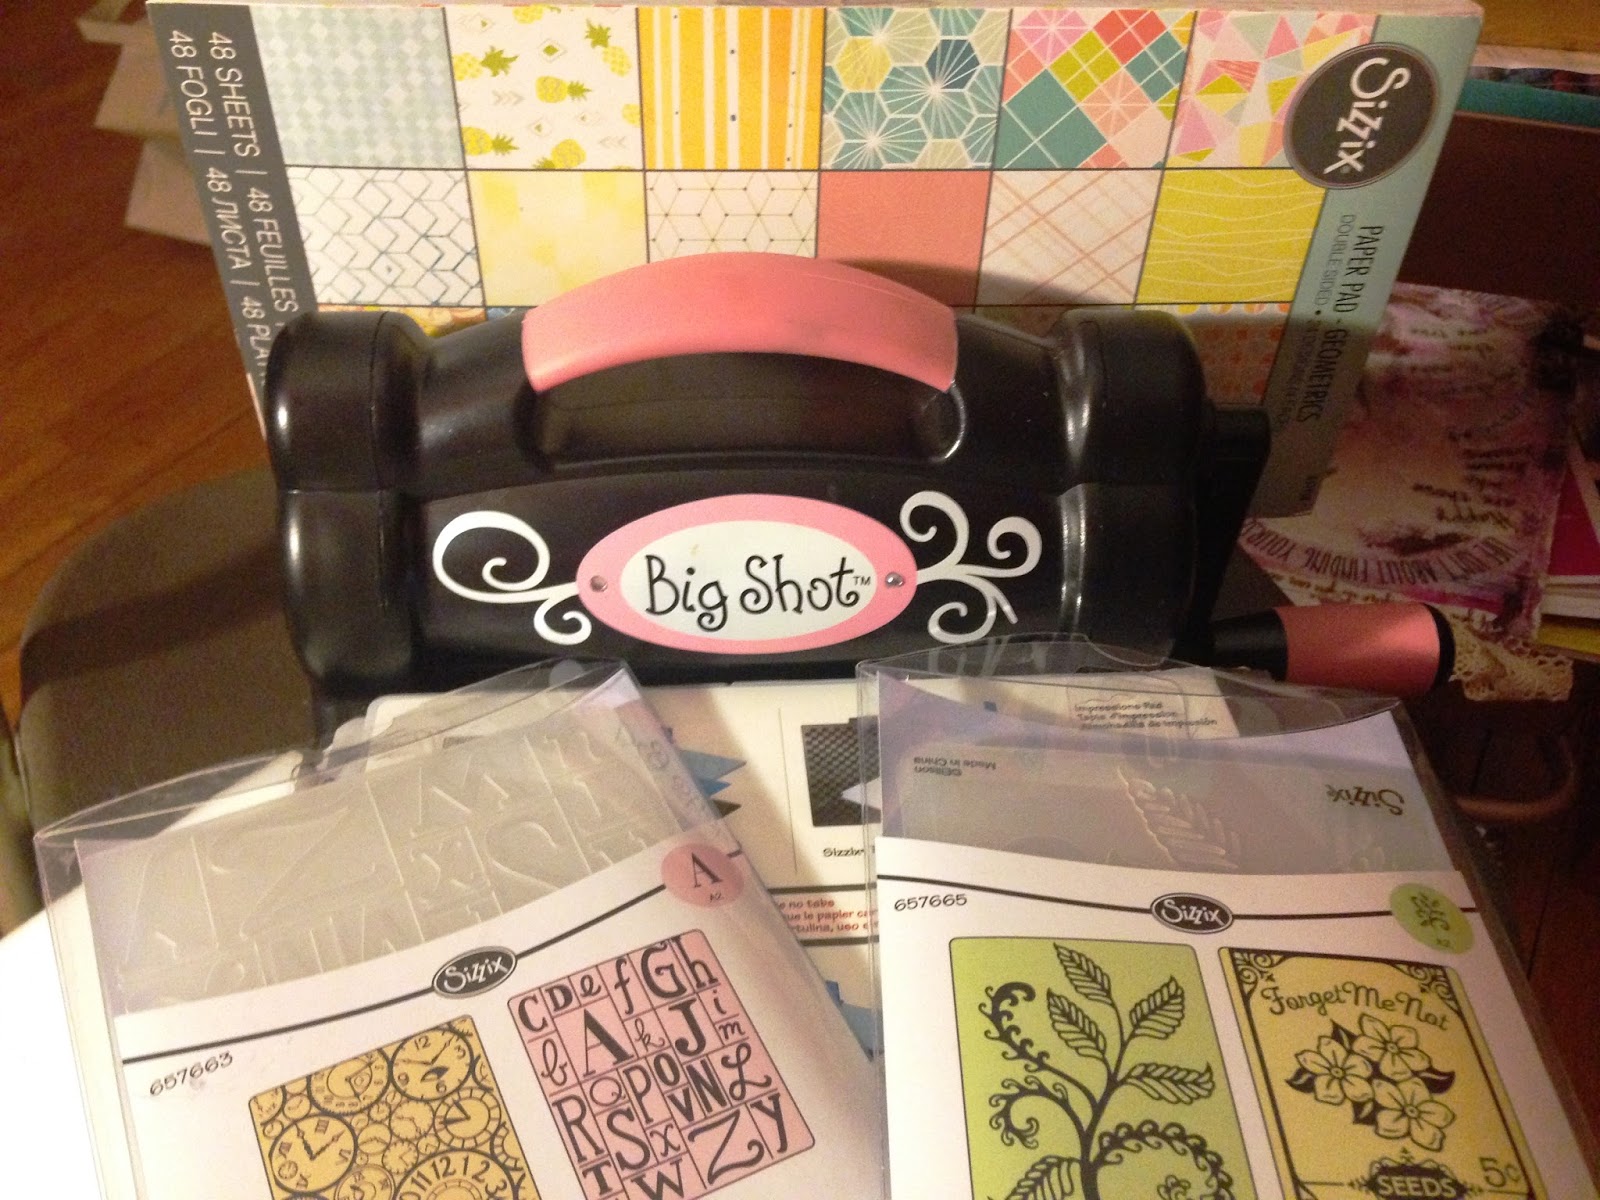
For this project I used the glossy papers and my Big Shot along with two Sizzix embossing folders, card stock and
Sizzix geometric paper pad from Sizzix. (all pictured below)
Sizzix geometric paper pad from Sizzix. (all pictured below)

I used this folder to emboss on both the silver/gold and the green foil paper.

Look how this foil paper captured all the detail from the embossing folder, I just had to go and cut
it all up to use only a few pieces on my card.


Next it's the Forget me not embossing folder, I only wanted to emboss the flowers so I placed
foil paper only on that section, I didn't want to waste any paper.

The gold/silver foil paper looks so pretty, I had to use the red foil paper for one of these cards, the
other flowers will be used on another project that I will share later on another day.


Here you have another embossing folder, for this one I used the bronze/copper foil paper, love how the
embossing came out. See for yourself below.


Below you see the two papers I used, and the cut outs from two of the embossing folders I used.
I used Mod Podge's dimensional magic to glue all the pieces together, I could have used any glue
I wanted, but I love using dimensional magic as a glue best. it dries super fast.

Here you have the finished card, ready for that special occasion.


Now the other card I wanted it to be about "Time for Love", see below.

nail file. If you haven't tried this foil paper, you really should it's so easy to work with, and I love
that despite it looks like foil, you can handle it like paper.
MATERIALS USED:
Sampler Assorter 10-Pack (glossy)
From Sizzix
Big Shot Machine
Geometric paper pad
Embossing folders #657665 & 657663
ModPodge Dimentional Magic (silver) by Plaid
Westcott scissors
Nail file
Card stock
Sampler Assorter 10-Pack (glossy)
From Sizzix
Big Shot Machine
Geometric paper pad
Embossing folders #657665 & 657663
ModPodge Dimentional Magic (silver) by Plaid
Westcott scissors
Nail file
Card stock


Comments
Post a Comment